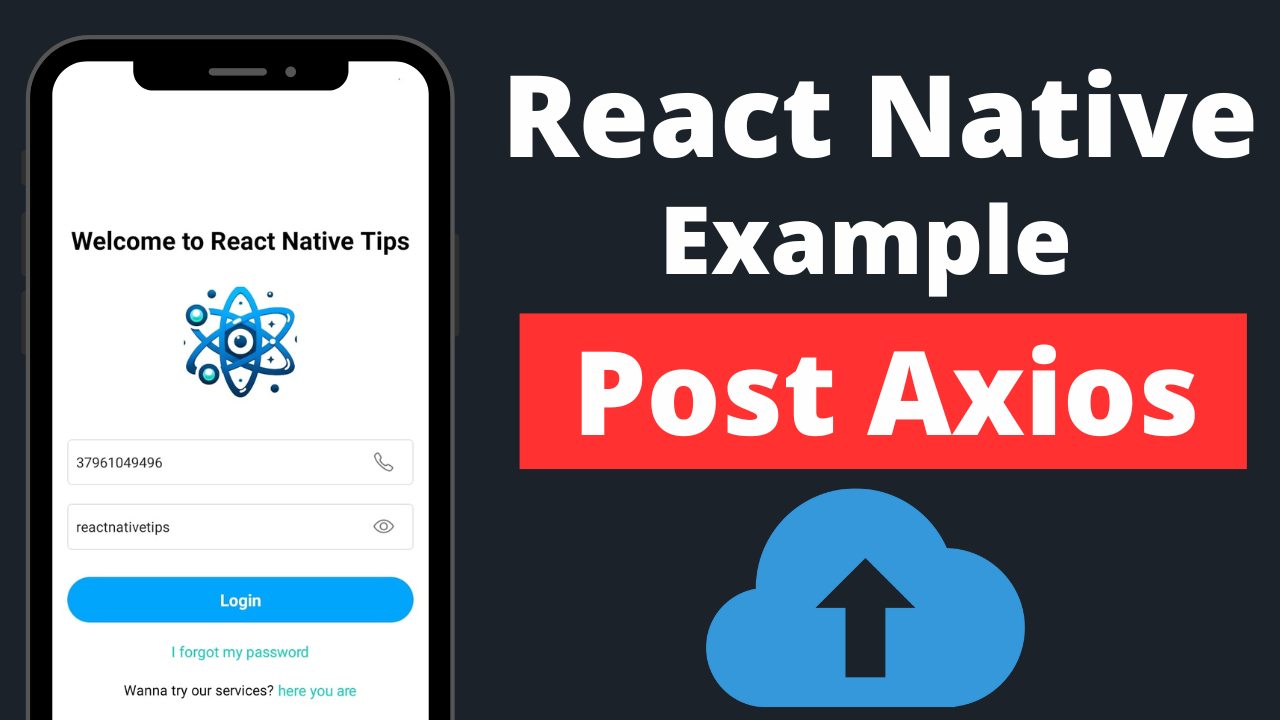
Creating a login functionality in a React Native application often involves making POST requests to a backend server. Using Axios to manage these requests simplifies the process, providing a clear, promise-based API to handle asynchronous operations. In this article, we’ll walk through an example of implementing a login feature in React Native using Axios to make POST requests.
Getting Started with Axios in React Native
Before diving into the login example, ensure Axios is installed in your React Native project. If not, you can add it by running npm install axios or yarn add axios in your project directory. This step is crucial for enabling your application to make HTTP requests.
Structuring the Login Component
Let’s create a simple login form in React Native. This form will collect a user’s email and password, sending them to a backend server for authentication via a POST request.
import React, { useState } from 'react';
import { View, TextInput, Button, StyleSheet, Alert } from 'react-native';
import axios from 'axios';

const Login = () => {
  const [email, setEmail] = useState('');
  const [password, setPassword] = useState('');

  const handleLogin = () => {
    const userData = {
      email: email,
      password: password,
    };

    axios.post('https://yourapi.com/login', userData)
      .then(response => {
        // Handle response
        console.log(response.data);
        Alert.alert("Login Successful", "Welcome back!");
      })
      .catch(error => {
        // Handle error
        console.log(error);
        Alert.alert("Login Failed", "Please check your credentials");
      });
  };

  return (
    <View style={styles.container}>
      <TextInput
        style={styles.input}
        placeholder="Email"
        value={email}
        onChangeText={setEmail}
      />
      <TextInput
        style={styles.input}
        placeholder="Password"
        value={password}
        secureTextEntry
        onChangeText={setPassword}
      />
      <Button title="Login" onPress={handleLogin} />
    </View>
  );
};

const styles = StyleSheet.create({
  container: {
    flex: 1,
    justifyContent: 'center',
    padding: 20,
  },
  input: {
    height: 40,
    marginBottom: 20,
    borderWidth: 1,
    padding: 10,
  },
});

export default Login;
This component uses two TextInput fields to capture the user’s email and password, storing their values in the component’s state. When the user presses the “Login” button, the handleLogin function is triggered, sending the email and password to the specified API endpoint.
Making the POST Request
The critical part of this example is the axios.post call within the handleLogin function. This function takes two arguments: the URL of the API endpoint and the data to be sent, which in this case is the user’s email and password encapsulated within the userData object.
Axios automatically converts this object to JSON and sets the appropriate content type headers. The .then() and .catch() methods are used to handle the response or any errors that may occur during the request.
Handling Responses and Errors
Upon a successful request, the server’s response is logged to the console, and a success alert is shown to the user. In case of an error (e.g., incorrect credentials), an error message is displayed. This basic error handling can be expanded to include more detailed feedback based on the server’s response.
Conclusion
This article has demonstrated how to implement a login functionality in React Native using Axios for POST requests. The example provided is a starting point, and the login component can be expanded with features like token storage, form validation, and more sophisticated error handling to create a more robust authentication flow.

