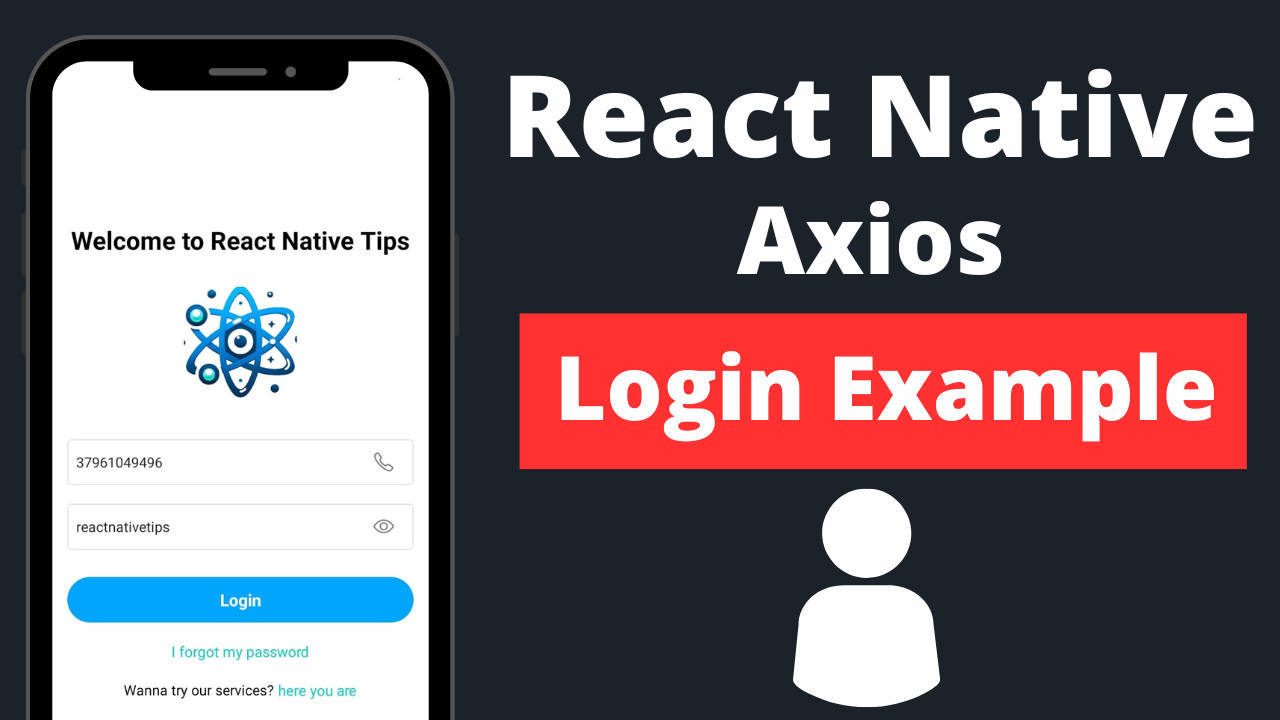
In the mobile app development realm, creating a secure and efficient login mechanism is crucial for protecting user data and personalizing the user experience. React Native, a popular framework for building mobile applications, coupled with Axios, a promise-based HTTP client, provides a robust foundation for implementing such features. This article guides you through the process of creating a login feature in React Native using Axios to communicate with a backend server.
Understanding the Basics
Before diving into the code, it’s important to understand the basic flow of a login feature. Typically, the process involves collecting user credentials, sending them to a server for verification, and handling the server’s response to either grant or deny access.
Prerequisites
- A React Native environment set up.
- Axios installed in your project (
npm install axiosoryarn add axios). - A backend server with an endpoint for authentication (for demonstration purposes, we’ll use a placeholder endpoint).
Step 1: Setting Up the Login Screen
First, create a simple login screen that includes input fields for the username and password, and a button to submit the credentials:
import React, { useState } from 'react';
import { View, TextInput, Button, StyleSheet, Alert } from 'react-native';

const LoginScreen = () => {
  const [username, setUsername] = useState('');
  const [password, setPassword] = useState('');

  const handleLogin = () => {
    // Axios login logic will go here
  };

  return (
    <View style={styles.container}>
      <TextInput
        placeholder="Username"
        value={username}
        onChangeText={setUsername}
        style={styles.input}
      />
      <TextInput
        placeholder="Password"
        value={password}
        onChangeText={setPassword}
        secureTextEntry
        style={styles.input}
      />
      <Button title="Login" onPress={handleLogin} />
    </View>
  );
};

const styles = StyleSheet.create({
  container: {
    flex: 1,
    justifyContent: 'center',
    padding: 20,
  },
  input: {
    marginBottom: 10,
    borderWidth: 1,
    padding: 10,
  },
});

export default LoginScreen;
Step 2: Implementing Axios for Authentication
Inside the handleLogin function, use Axios to send the user credentials to your backend for verification:
import axios from 'axios';

// Replace with your backend's login endpoint
const LOGIN_ENDPOINT = 'https://yourbackend.com/api/login';

const handleLogin = () => {
  axios.post(LOGIN_ENDPOINT, {
    username: username,
    password: password,
  })
  .then(response => {
    // Handle successful login
    console.log('Login successful', response.data);
    // Navigate to your app's main screen or set authentication state
  })
  .catch(error => {
    // Handle login error
    console.error('Login failed', error.response);
    Alert.alert('Login Failed', 'Please check your credentials and try again.');
  });
};
Step 3: Managing Authentication State
Upon successful login, your backend should return a token (e.g., JWT) which you can store locally (e.g., using AsyncStorage in React Native) for authenticating subsequent requests and managing the user session
import AsyncStorage from '@react-native-async-storage/async-storage';

// Handling successful login
.then(response => {
  AsyncStorage.setItem('userToken', response.data.token)
    .then(() => {
      // Navigate to the main screen or update state to reflect authentication
    })
    .catch(error => {
      console.error('AsyncStorage error:', error);
    });
})
Security Considerations
- Always use HTTPS for network communications to protect sensitive data.
- Validate and sanitize inputs on the server to prevent SQL injection or other attacks.
- Implement rate limiting and account lockout mechanisms to thwart brute-force attacks.
Conclusion
Implementing a login feature in React Native using Axios for API communication is a straightforward yet vital part of developing secure mobile applications. By following the steps outlined in this guide, you can efficiently manage user authentication, ensuring a secure and personalized app experience. Remember to adhere to best practices for security and to test your login mechanism thoroughly to handle various edge cases and potential errors.

